Tuesday, February 24, 2015

The Hippie Stomper

I've been tying a boat load of flies lately. Searching for patterns to try on the internet I ran into the Hippie Stomper and Amy's Ant. Amy's Ant is the fly pictured at the top of the photo above the herd of Stompers! I'm not sure if they'll produce well but I'm hoping the black ones will imitate the crickets that I found everywhere last summer.
I also tied up some small ants and flying ants. I've never fished ant patterns much but I have high hopes for them too!

Sunday, February 22, 2015

How To: Deer Hair Parachute Hopper

This is a difficult fly to tie but with a little practice they can be tied with some ease. To tie these flies you will need a sturdy hook (sz 12 pictured), deer hair, silli legs, any type and color of dubbing material, and two hackle feathers (one small and one large). Start by tying the thread back to the curve of the hook as pictured below.
 Tie in the smaller hackle feather as pictured above right. This small hackle feather will act as the ribbing on the bottom on the fly and will provide extra buoyancy. Next tie in a thick body of dubbing. I use an orange color (pictured in an earlier post) and for this fly a gray. I've found that most smaller hoppers around here are one of these two colors.
 Wrap the hackle forward over the body and tie it down. Then tie in the silli legs as pictured above. Wait to trim the legs. This is where it can get tricky!
 Tie down some stacked deer hair. Tie it down so it sits firmly but still use as few thread wraps as possible. Make sure the legs are still positioned correctly. Tie down the large piece of hackle before wrapping a thin strip of dubbing over the deer hair. While wrapping the dubbing wrap backward a little to tie the legs back.
 Now tie the thread in a parachute around the deer hair as pictured above. Now another tricky part-pull back the fibers of the hackle in order to tie in more dubbing around the front of the parachute. Wrap the dubbing up to the eye of the hook again situating the legs using dubbing to push the legs to where you want them. Tie off and apply head cement to the knot.
This is the end result! If I could do it again I would wrap more dubbing under the parachute and especially in front of the hook eye. Regardless this fly will fish well!

???Feel free to post any questions???

Wednesday, February 18, 2015

Broke Car

Couldn't get the car started today so I've been at home working on a foam bodied extended mayfly pattern. The bodies on these don't have the tapered look I was working for but these guys will definitely catch some fish!
With cold weather forecast for the next week and beyond I probably won't get out fishing any time soon. Stay tuned-I'll continue tying tried and true patterns as well as working on some new ideas.

Sunday, February 15, 2015

How To: Extended Body Mayfly

With temps hovering well below freezing I hit the vise again today to try a fly that I've often considered but never tied. The extended body mayfly is tied on a size 14 curved caddis/scud hook. I'm not sure if the angle on the hook will lead to increased hook ups or more missed hook sets but I'm optimistic that this fly will work well!
 Begin by tying the thread onto the hook as shown above. Stack a decent chunk of deer hair and tie it down as you would on a caddis type pattern. Once the deer hair is tied down FIRMLY, begin wrapping the thread around the deer hair. This is the difficult part. As you wrap pinch the deer hair together in your non-bobbin hand. This will ensure that you are able to wrap tightly.
 After wrapping a short ways cut out about a quarter of the deer hair from the tail as seen above left. Continue wrapping and cutting every so often until you get a good tail (above right). The purpose of cutting out some of the deer hair is to get a more tapered look.
 Now it's time to tie in the parachute post! Tie down your post material with two tight wraps of thread. Then pinch the post material in your non-bobbin hand while wrapping the thread around the base of the post. All of these wraps must be tight to ensure that the post stays firmly planted on top of the body. Tie in a piece of hackle where the post meets the body, wrap the thread to the front of the post, and wrap the hackle around the post.
 Now tie the hackle down to the fly. This part is difficult to explain. I try to wrap the thread around the post (under the hackle) a few times to push the hackle up a little. This makes it easier to whip finish the fly without getting barbs of hackle tied down as well.
Trim any wild hackle barbs and place head cement on the bottom of the fly and where the whip finish was done. For many tying the parachute is the most difficult part. Check out this video for a quick guide to tying the post and hackle- https://www.youtube.com/watch?v=knLQgVXVnis

This fly can also be tied with as a CDC emerger. The fly pictured below was tied on a size 20 dry fly hook. Can't wait to get out and try these!
???Feel free to post any questions???

Friday, February 13, 2015

How To: Foam Hopper

After tying your thread onto the hook thread a piece of foam twice as large as you would like the body onto the hook. Like pictured above. Make sure the line is tied to the back of the hook.
Now wrap the thread around the foam like pictured above left to create the first segment of the hopper's body. Tie the thread around the hook up to where you would like the next segment to begin, tie a few wraps around the foam, and repeat up the body to get the segmented look pictured above right. Wrap backward over the top of the foam to get the thread positioned as shown above right.
 Now tie in a thick chunk of deer hair and trim tight to the foam body. Make sure the deer hair is tied in at a natural segment. (use as few wraps of thread as possible to ensure that the segment doesn't get too thick) Now tie in the legs on each side, only in the back. Do not trim the legs yet!
 Tie on the green foam wing casing on top of the same segment used to tie in the deer hair and legs. (I can't overemphasize the importance of limiting thread wraps) Tie in the orange indicator foam strip next. Now wrap across the next segment forward (wrap across the top) and then wrap the foam wing casing and orange indicator foam down. Tie in the front part of the legs like pictured below. Trim the orange indicator now.
Wrap the thread one more segment forward and whip finish. After whip finishing be sure to use head cement on the whip finish and each segment. Using a liberal amount of head cement ensures that it won't fall apart easily after lots of fishies!

???Feel free to post any questions???

Some Cell Trout

I was able to get some trout photos off my phone with the help of my Mom. These were taken during the outings that I forgot my phone.
The beautiful brownie came from a stream on my way home from work. I caught him last Friday. As he came closer I thought it might have been a rainbow! He's probably the most silvery brown I've caught. The powerful rainbow pictured on the left came during the State Park Season from the depths of a swift run to strike the pink squirrel of prey. I caught five or six trout on this day but this rainbow was the nicest.
This guy came from the same waters as the brown pictured above. I fished a ways up stream of here with no more luck. There were no other footprints but the bottom of the stream was sandy and the water was pretty stained. I've done well in other sections of this stream but this spot will be reserved for quick trips on the way home from work.
 These fish came earlier in the season. The fish on the right took a skittering caddis while the one on the left took a black bunny streamer. Now that I can get photos off my phone (with some help from Mom) I won't be so worried about forgetting the camera!

Saturday, February 7, 2015

Trip Report: No Wadin' Good Time

After seeing temps forecast to reach the upper 30's I knew today would be a good day to go fishing. My neoprene waders sprung a leak on the bottom of the left boot last time I was out so I kept to the shoreline today. In retrospect I should have worn snowshoes. First I hit a larger driftless stream and caught three nice rainbows! 
This one was the biggest and had the healthiest look. He put up a pretty decent fight through the current and into a deep hole. Fortunately the deep hole had no tangles and he was brought to hand without complication. After fishing on this river for around a half hour I headed up the nearest tributary in search of fish hitting on midges. I saw a few buzzing around and wanted to get up to an isolated stretch to target some gullible browns.
 These small browns both fell for a size 18 stripped quill zebra midge emerger. I saw a few nice fish surface but without waders and without room for error I couldn't catch many of the nicer fish spotted today! When I first fished this stream in late summer of this year I remember thinking that this would be a good spot to fish without waders on a cold day. There were plenty of log jams that I could have crawled over and lots of trees that shaded the banks. I wanted the challenge of casting to isolated trout but found easy casting lanes, footprints, and no place to switch sides without getting cold feet.
In the picture above you can kind of see how climbing on drifts near the bank is a good way to get a cold bath. I slipped a few times but caught myself without getting wet.
This rosy cheeked rainbow trout ate the pink squirrel of prey. I switched back and forth between midge emergers and subsurface and found that all browns preferred dries while all rainbows preferred subsurface. Browns were around the tailouts of pools while rainbows were in deep current. After catching half a dozen more rainbows I headed to another small spring creek, one that I've never fished before. I caught a few quick rainbows before noticing little midges flying everywhere. I tied on the midge and before I cinched the knot fish began surfacing consistently.
 This spot yielded a solid number of small but colorful brownies. I scared up twice as many as I caught. I have an idea for summer that will catch me a ton of trout at this stream. Good find! Even though I didn't get to fish in the jungle today I still managed quite a few little trout!
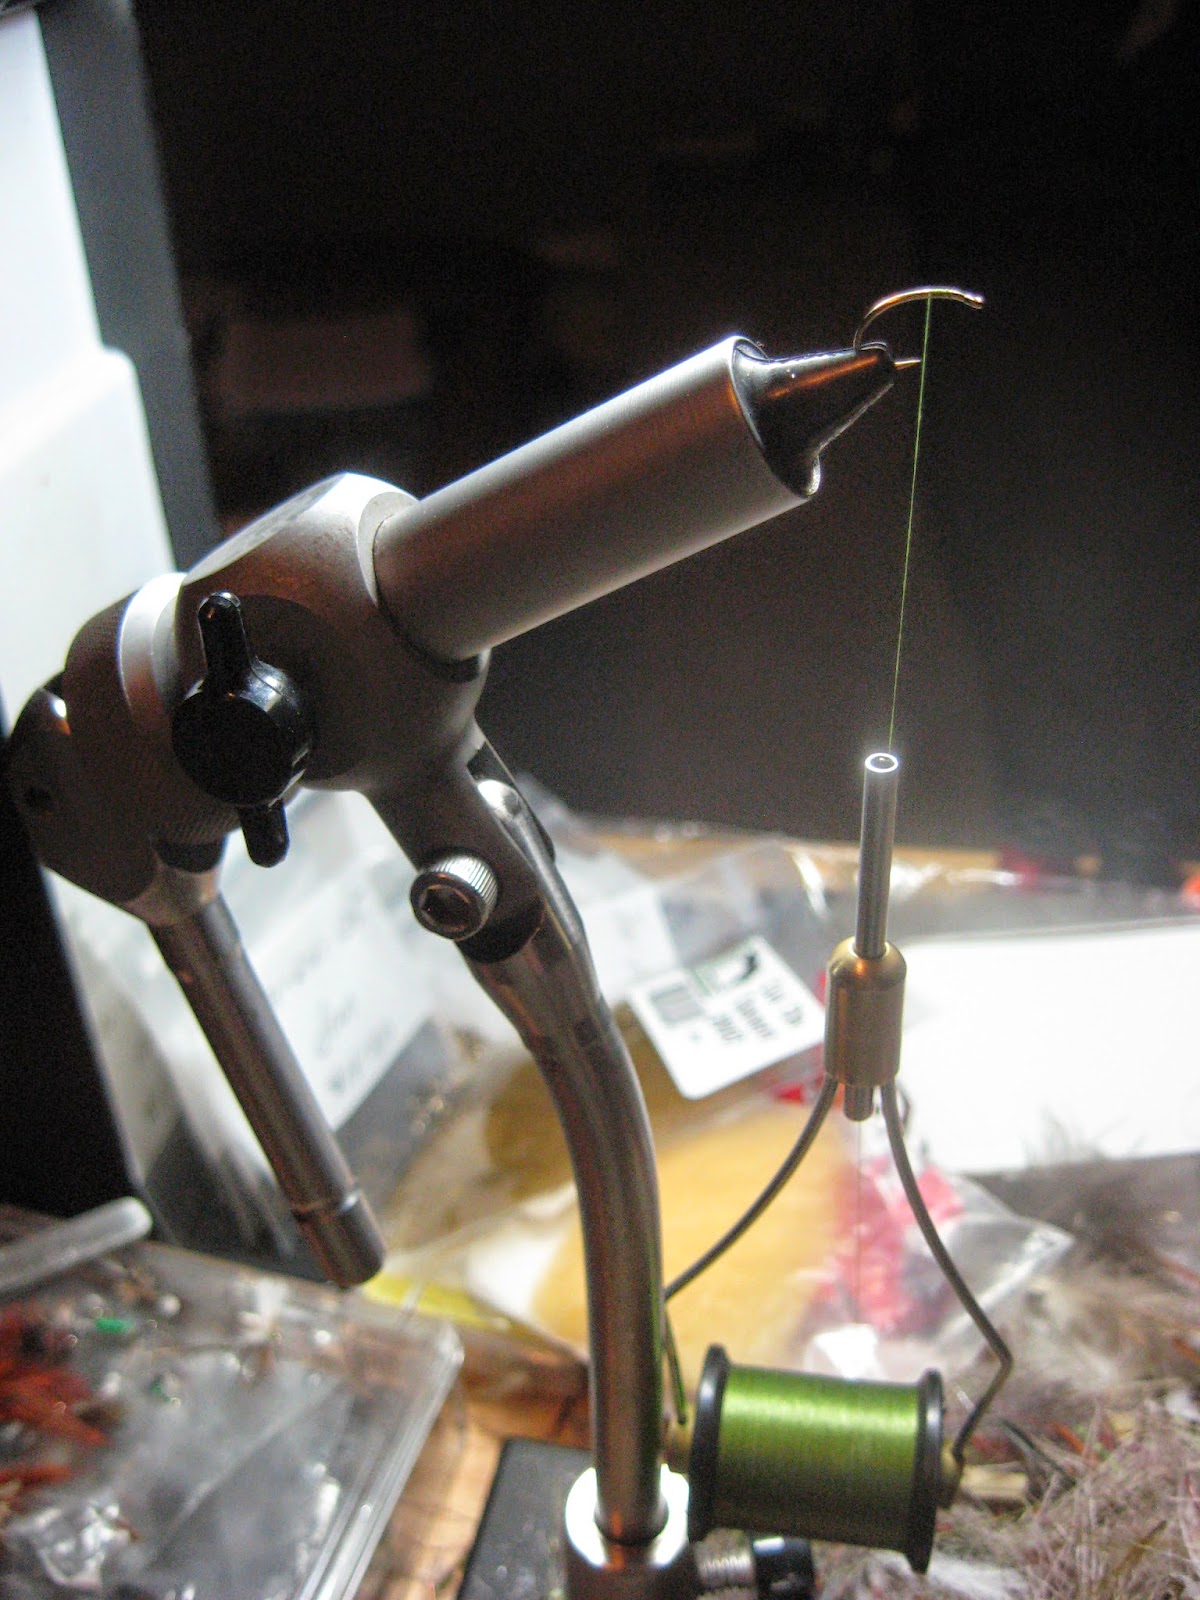
This is the essentials that accompany me on every trip (unless I forget the camera). I'm starting to rethink getting a cushy fly box for all the different patterns I tied up so far this winter.

Monday, February 2, 2015

Hopper Inspiration

A week or so ago I saw a neat hopper pattern online. I've only really used huge foam hoppers which always work well. My fly box has lacked a good smaller hopper until now!
 I tied up an army of 'em for next summer.
Fishes view.
It'll be really cold all week but with temps forecast to be in the low 30's this weekend I hope to get out fishing soon so stay tuned.